How to install openDCIM on Ubuntu to simplify data center management
Managing your data center infrastructure can be a nightmare unless you have the right tools. Here’s how to install one such free tool called openDCIM.
If you’re looking for an open source data center infrastructure management tool, look no further than openDCIM. Considering what you get for the cost of the software (free), this is a web-based system you’ll definitely want to try. openDCIM is a free and open source for Data Center solutions. It is already used by a few organizations and is quickly improving due to the efforts of its developers. The number one goal for openDCIM is to eliminate the excuse for anybody to ever track their data center inventory using a spreadsheet or word processing document again. We’ve all been there in the past, which is what drove us developers to create this project.
With openDCIM you can:
Provide asset tracking of the data center
Support multiple rooms
Manage space, power, and cooling
Manage contacts’ business directories
Track fault tolerance
Compute Center of Gravity for each cabinet
Manage templates for devices
Track cable connections within each cabinet and each switch device
Archive equipment sent to salvage/disposal
Integrate with intelligent power strips and UPS devices
If you have an existing Ubuntu server handy (it can be installed on a desktop as well), you can get openDCIM up and running with a bit of effort. The installation isn’t the simplest you’ll ever do; however, following is an easy walk-through of installing this powerful system on Ubuntu.
Installing openDCIM
If you don’t already have a LAMP stack installed on the Ubuntu machine, do so with these simple steps.
Open a terminal window.
Issue the command sudo apt-get install lamp-server^
Type your sudo password and hit Enter.
Allow the installation to complete.
During the installation, you’ll be prompted to set a mysql admin password. Make sure to take care of that and remember that password.
Once you have the LAMP stack ready, there are a few other dependencies that must be installed. Go back to your terminal window and issue the following command:
sudo apt-get install php-snmp snmp-mibs-downloader php-curl php-gettext graphviz
Allow that command to complete, and you’re ready to continue.
Download the software
The next step is to download the latest version of openDCIM—as of this writing, that version is 4.3. Go back to your terminal window and issue the command wget http://www.opendcim.org/packages/openDCIM-4.3.tar.gz. This will download the file into your current working directory. Unpack the file with the command tar xvzf openDCIM-4.3.tar.gz. Next, rename the newly created folder with the command sudo mv openDCIM-4.3 dcim. Finally, move that folder with the command sudo mv dcim /var/www/.
You’ll also need to change a permission or two with the command:
sudo chgrp -R www-data /var/www/dcim/pictures /var/www/dcim/drawings
Create the database
Next we create the database. Open the MySQL prompt with the commandmysql -u root -p and then, when prompted, enter the password you created during the LAMP installation. Issue the following commands:
create database dcim;
grant all on dcim.* to ‘dcim’@’localhost’ identified by ‘dcim’;
flush privileges;
exit;
Configure the database
Since we created the database dcim and used the password dcim, the built-in database configuration file will work without editing; all we have to do is rename the template with the command:
sudo cp /var/www/dcim/db.inc.php-dist /var/www/dcim/db.inc.php
Configure Apache
A virtual host must be configured for Apache. We’re going to use the default-ssl.conf configuration for openDCIM. Go to your terminal window and change to the /etc/apache/sites-available directory and open the default-ssl.conf file. To that file we’re going to first change the DocumentRoot variable to/var/www/dcim and then add the following below that line:
<Directory “/var/www/dcim”>
Options All
AllowOverride All
AuthType Basic
AuthName dcim
AuthUserFile /var/www/dcim/.htpassword
Require all granted
</Directory>
Save and close that file.
Set up user access
We also must secure openDCIM to restrict it to user access. We’ll do that with the help of htaccess. Create the file /var/www/dcim/.htaccess with the following contents:
AuthType Basic
AuthName “openDCIM”
AuthUserFile /var/www/opendcim.password
Require valid-user
Save that file and issue the command:
sudo htpasswd -cb /var/www/opendcim.password dcim dcim
Enable Apache modules and the site
The last thing to do (before pointing your browser to the installation) is to enable the necessary Apache modules and enable to the default-ssl site. You may find that some of these are already enabled. Issue the following commands:
sudo a2enmod ssl
sudo a2enmod rewrite
sudo a2ensite default-ssl
sudo service apache2 restart
You’re ready to install openDCIM
Installing openDCIM
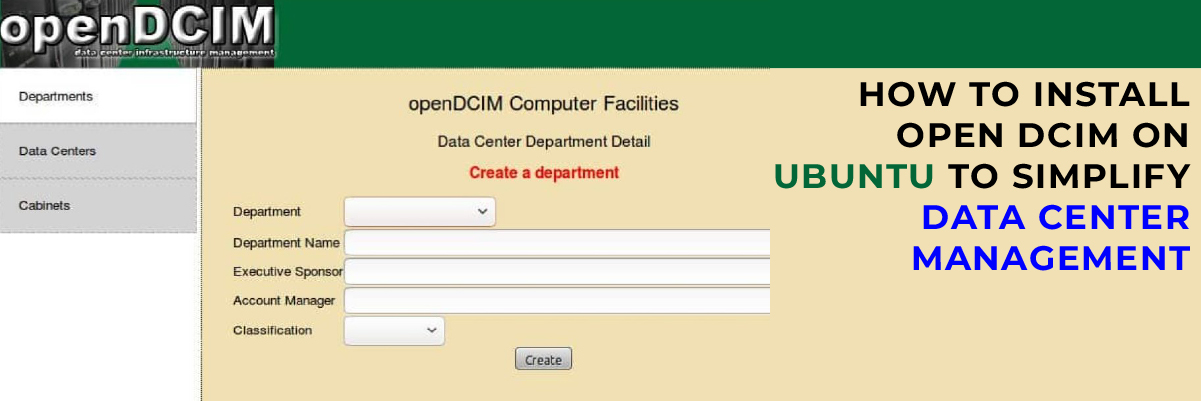
You should point your browser to https://localhost/install.php (you can replace localhost with the IP address of your openDCIM server). You will be prompted for the directory credentials, which will be the same as used with htaccess. For that the username will be dcim and the password will be dcim. At this point it should pass the pre-flight checklist and take you directly to the department creation page (Figure A).

The very last step is to remove the /var/www/dcim/install.php file. Then point your browser to https://localhost (or the server’s IP address), and you’ll be taken to the main openDCIM site (Figure B).

The openDCIM main page
Ready to serve
At this point, openDCIM is ready to serve you. You’ll most likely find more than you expect from a free piece of software. Spend time getting up to speed with the various features, and you’ll be ready to keep better track of your various data centers, projects, infrastructure, and so much more…all from one centralized location.